Before and After Thumbnail Templates
The story is the gap. Put the starting state and the result side by side, then make the change easy to understand before viewers know a single detail. Choose a comparison template, customize the two states, and generate a cover that keeps the transformation honest and clear.


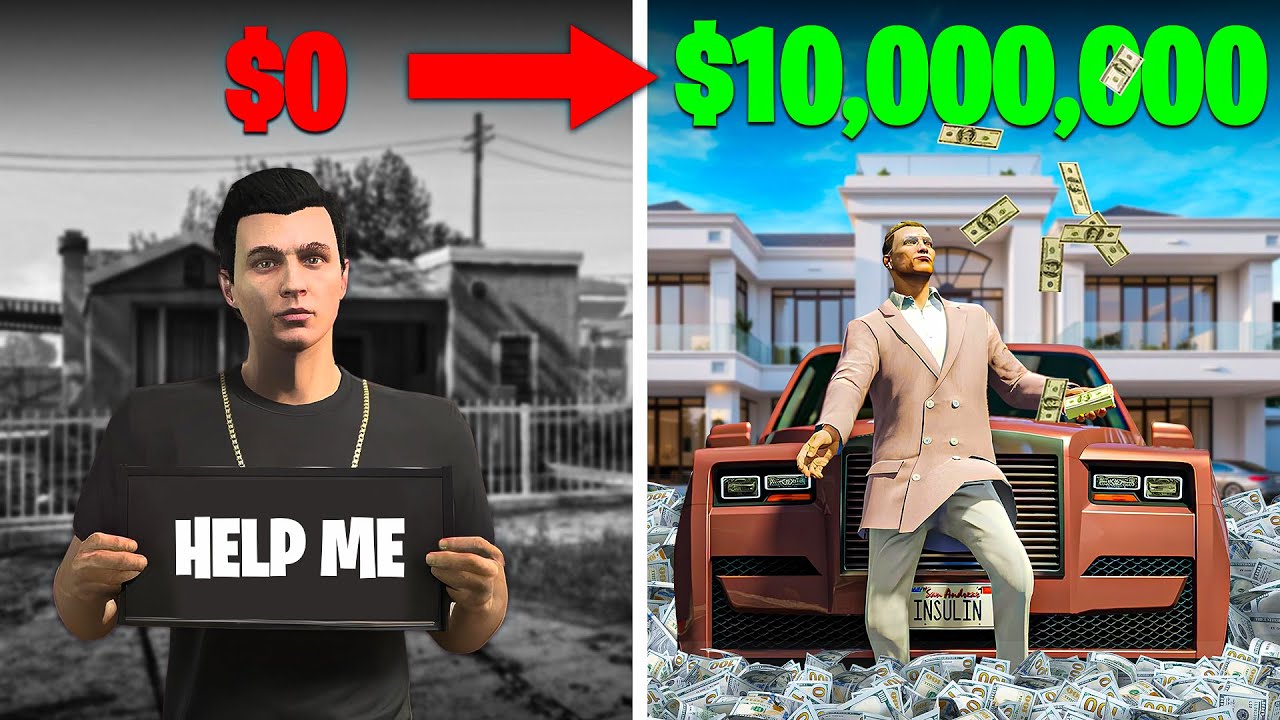


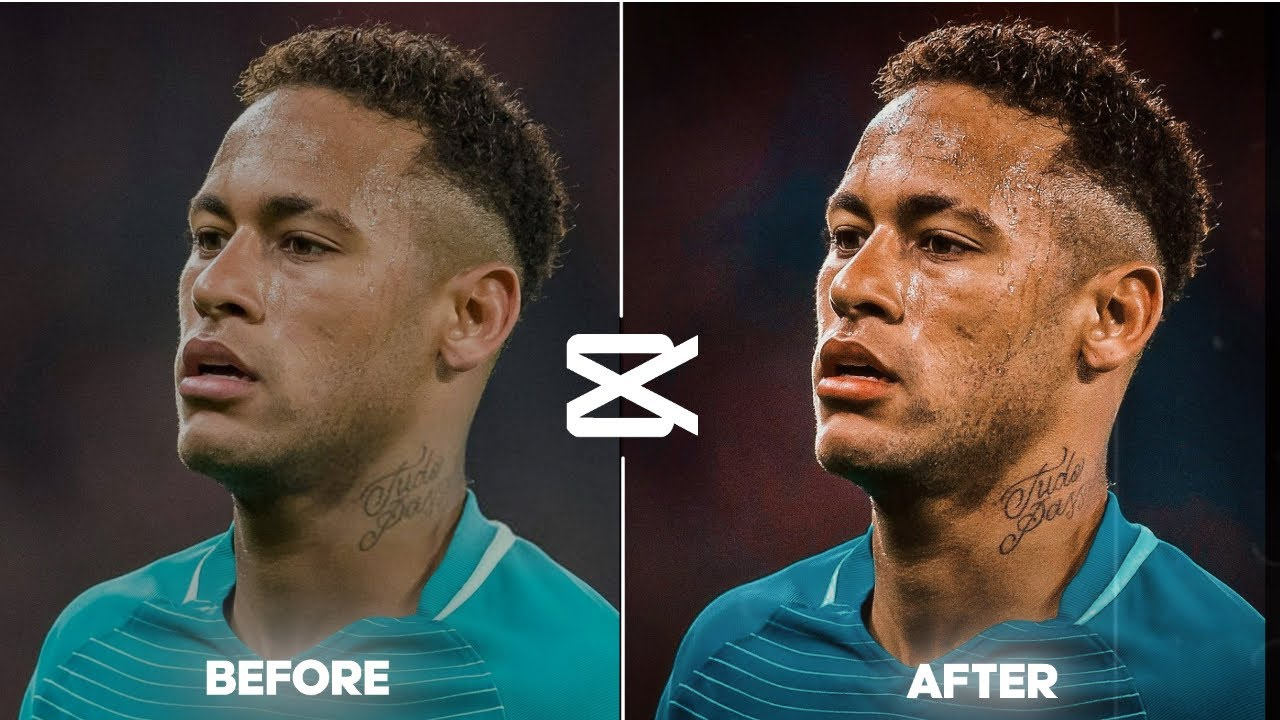

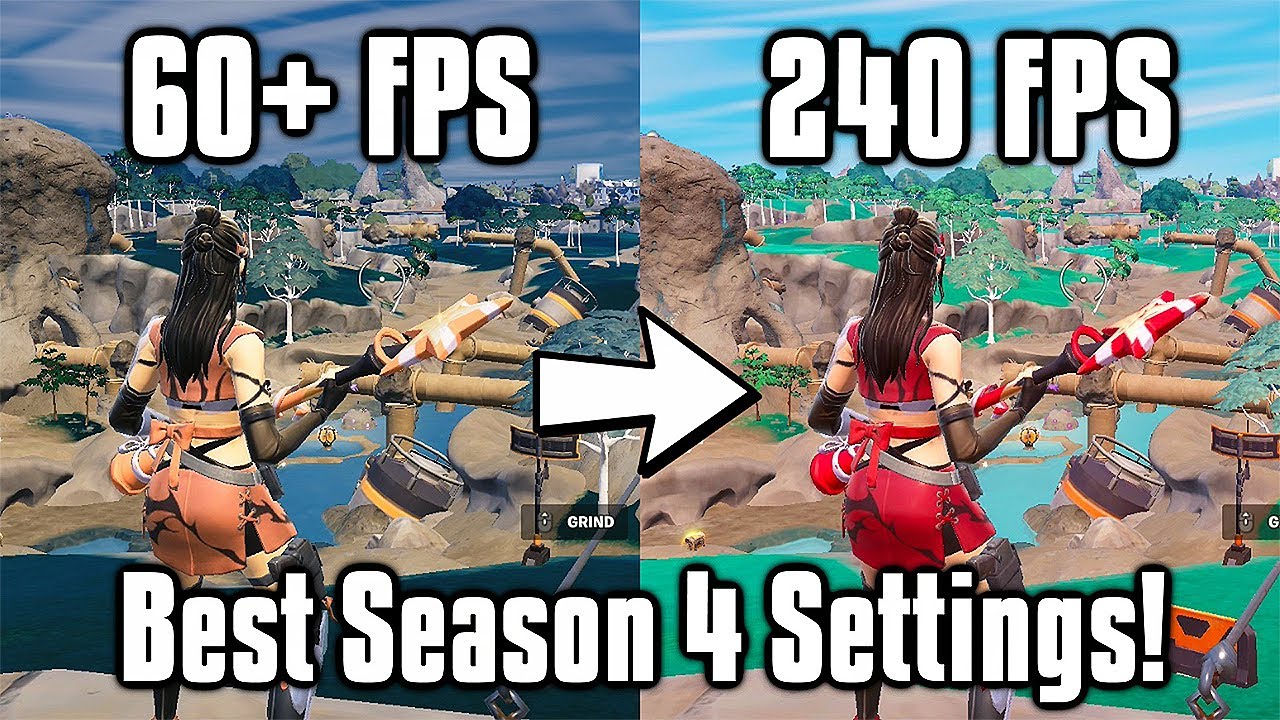
How to Make a Before and After Thumbnail
Start with one visible change, then give both sides enough space to make the story read in a small preview.
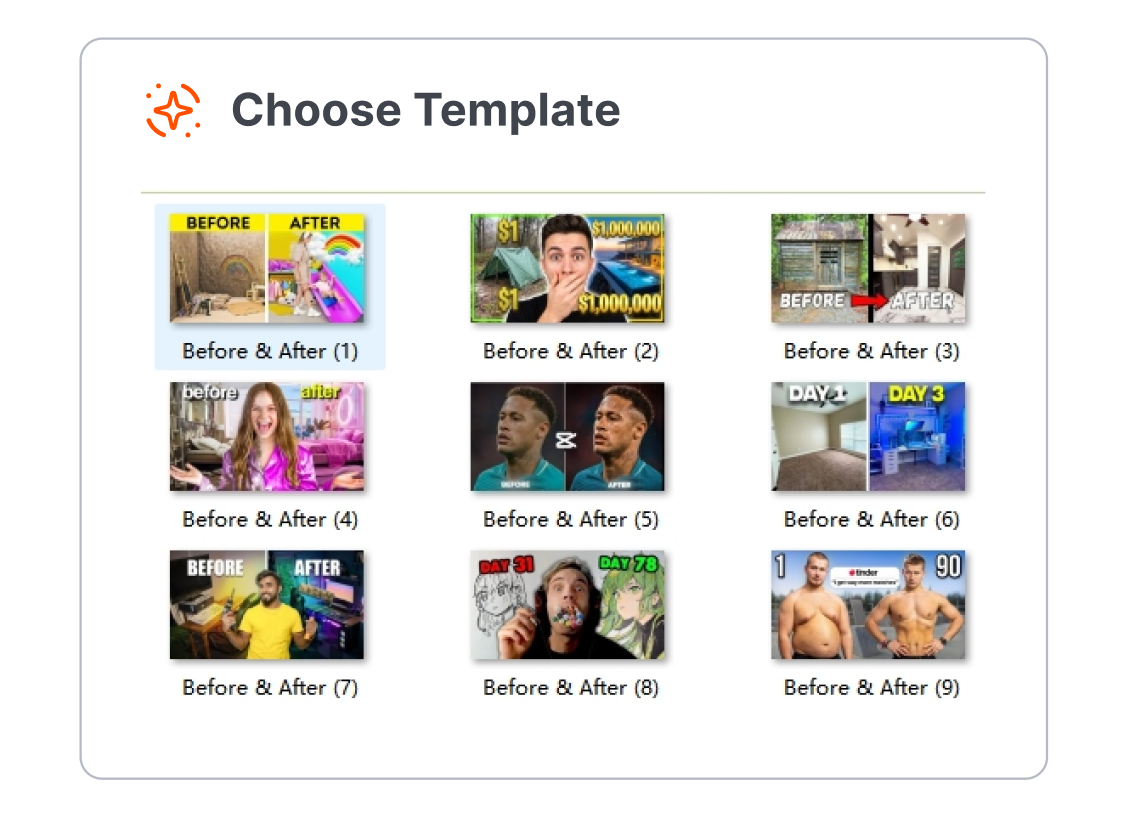
1. Choose a Split Template
Pick a before-and-after layout for a makeover, restoration, progress update, or redesign. Use a starting point that already separates the two moments clearly.
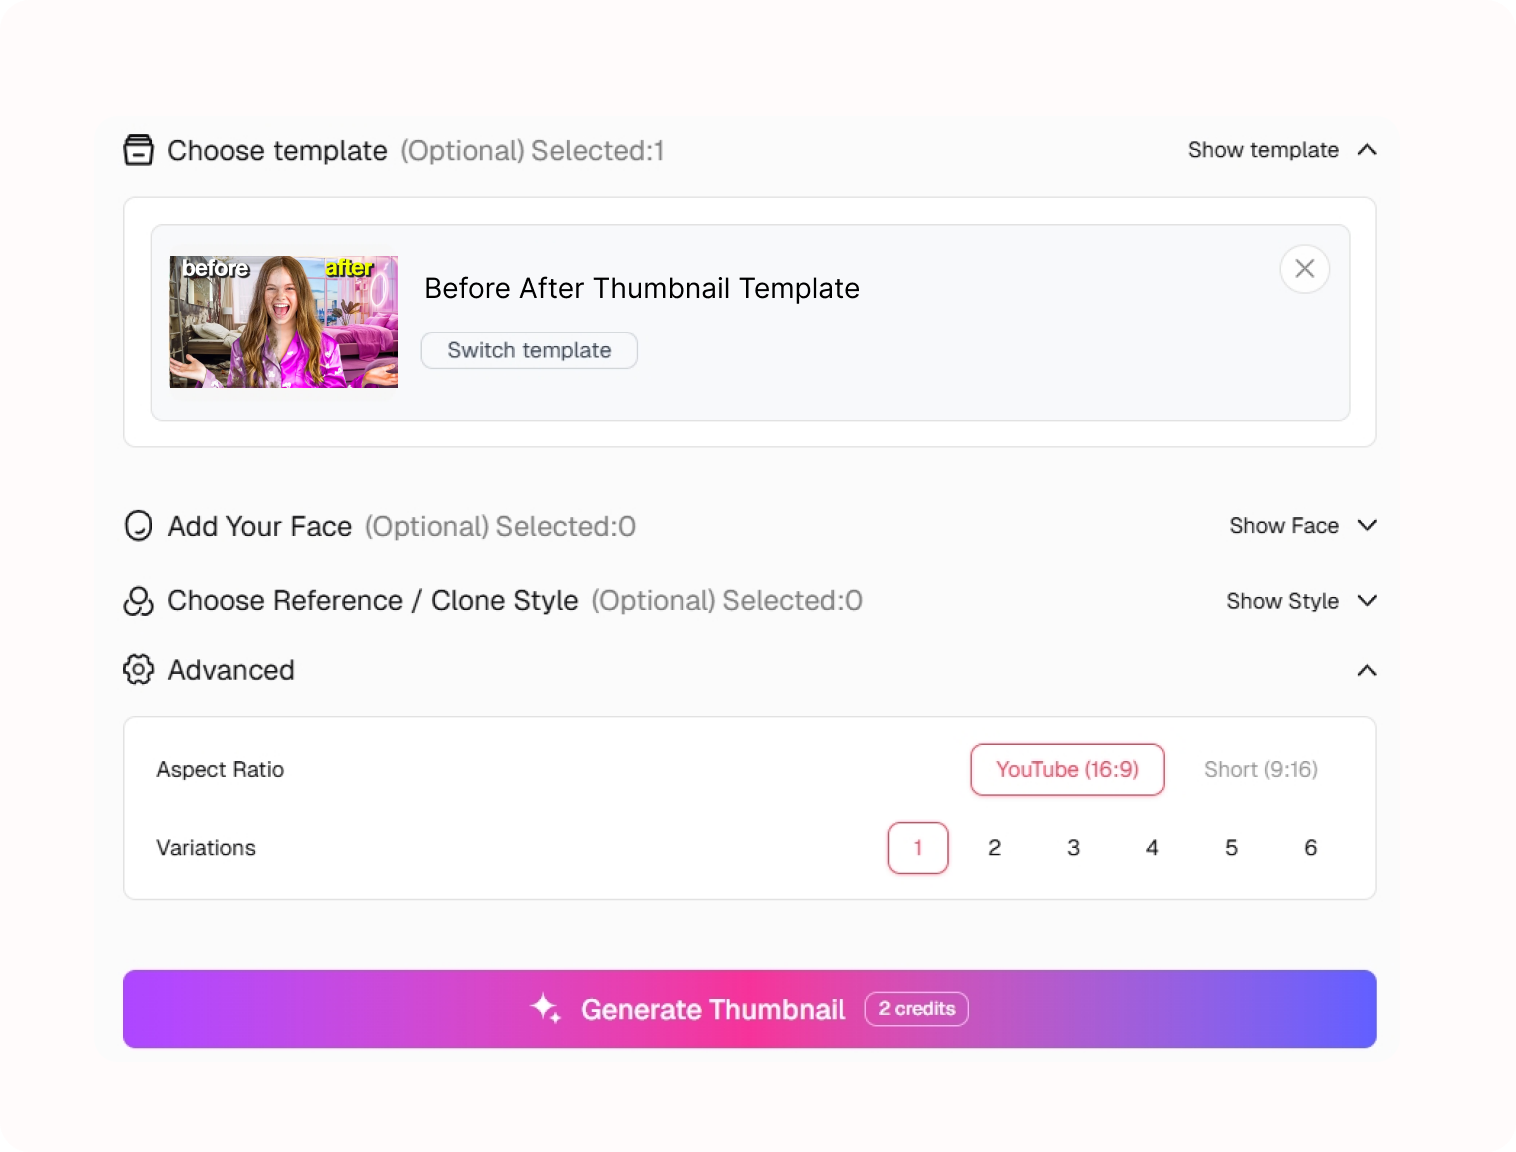
2. Define the Change
Describe what changed, customize the subject and visual direction, and keep both sides focused on the same person, object, room, or project.
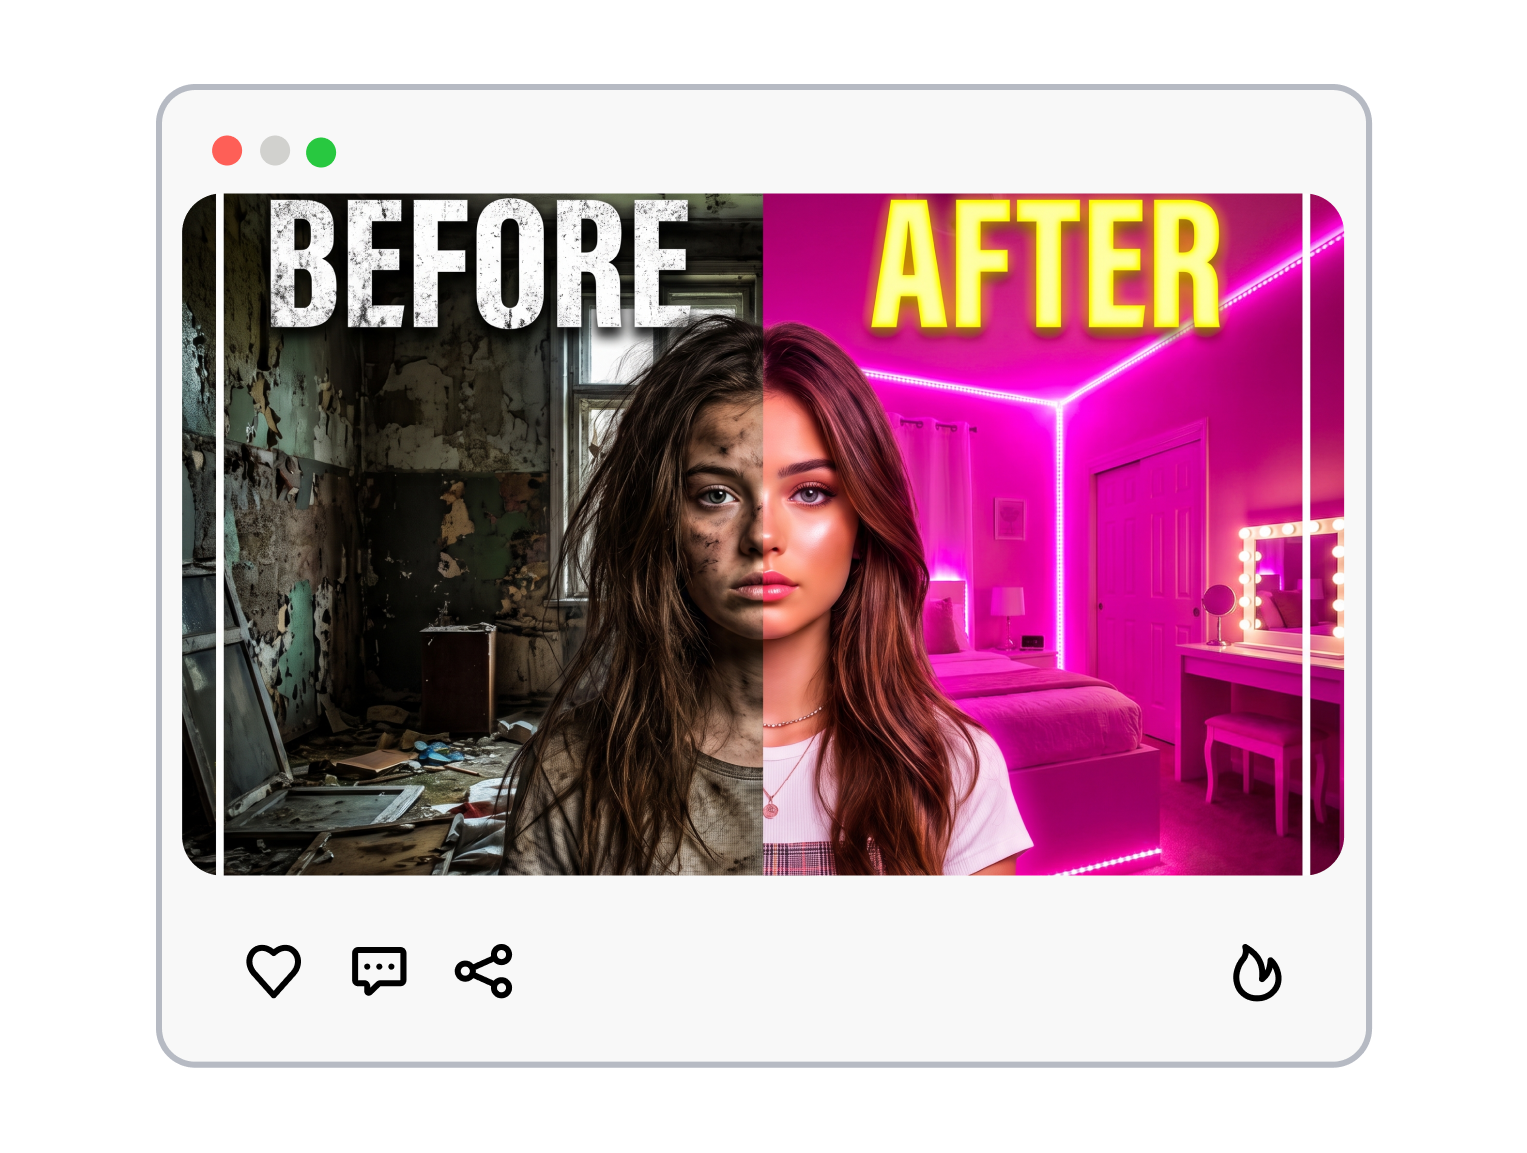
3. Generate the Comparison Cover
Generate a fresh comparison cover, then keep refining the divider, story cue, and balance until the change is easy to read.
Try Before and After Thumbnail Templates That Explain the Change
One clear comparison works better than two unrelated pictures competing for attention.
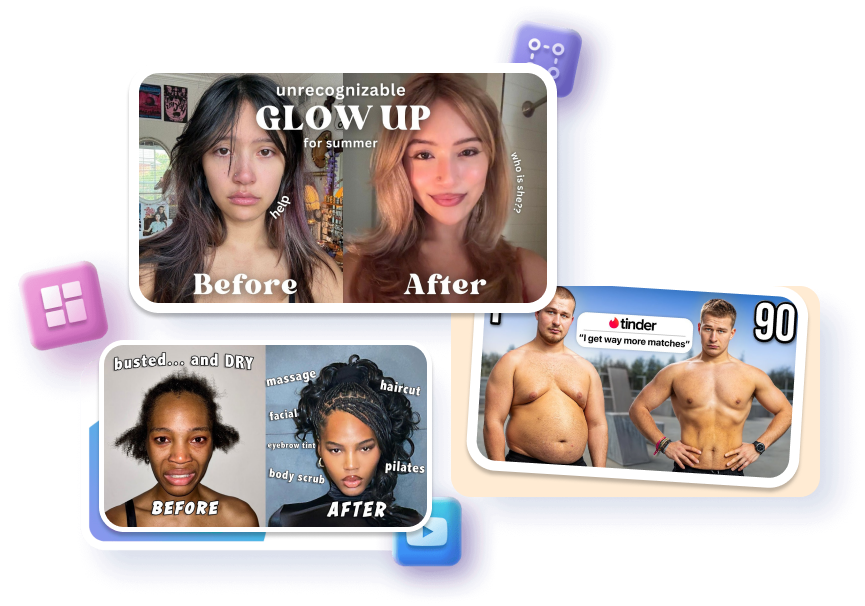
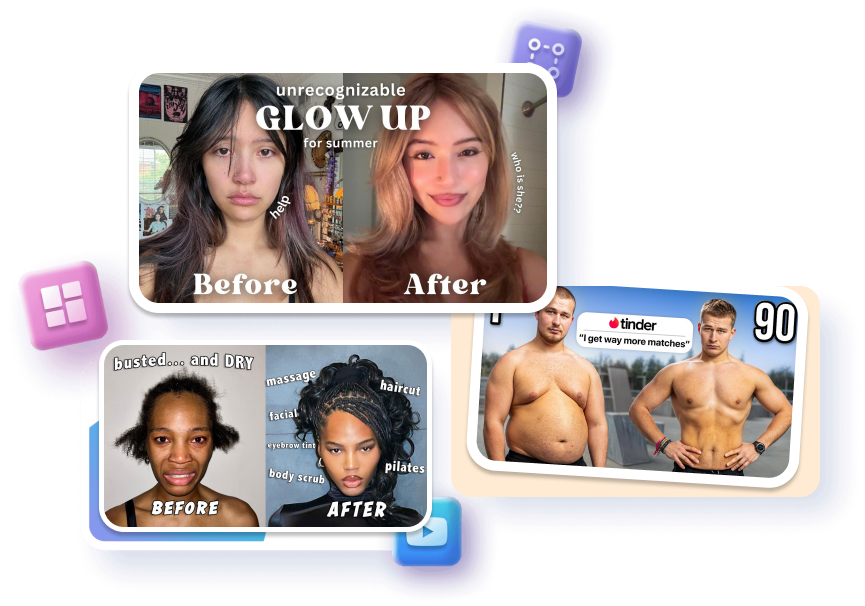
Before and After Thumbnail Template
Make the Change Obvious
Align matching subject crops so the transformation reads as one story.
Separate each state with a clear divider for instant comparison.
Label before and after sparingly to prevent a crowded frame.
Before and After Thumbnail Design
Show the Result Honestly
Contrast lighting or color treatment to clarify the visible change.
Keep the same angle across both states for a fair comparison.
Focus one result object so viewers know what changed.
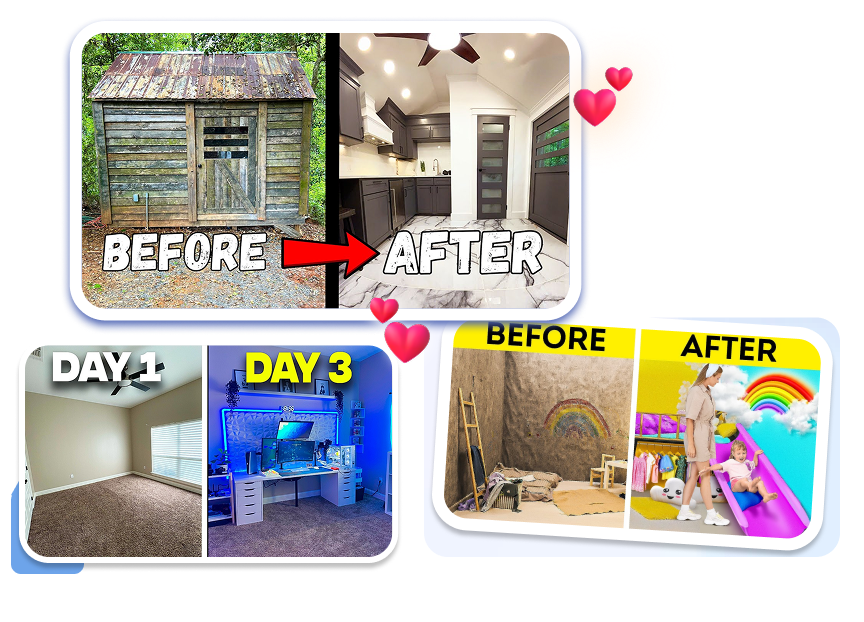
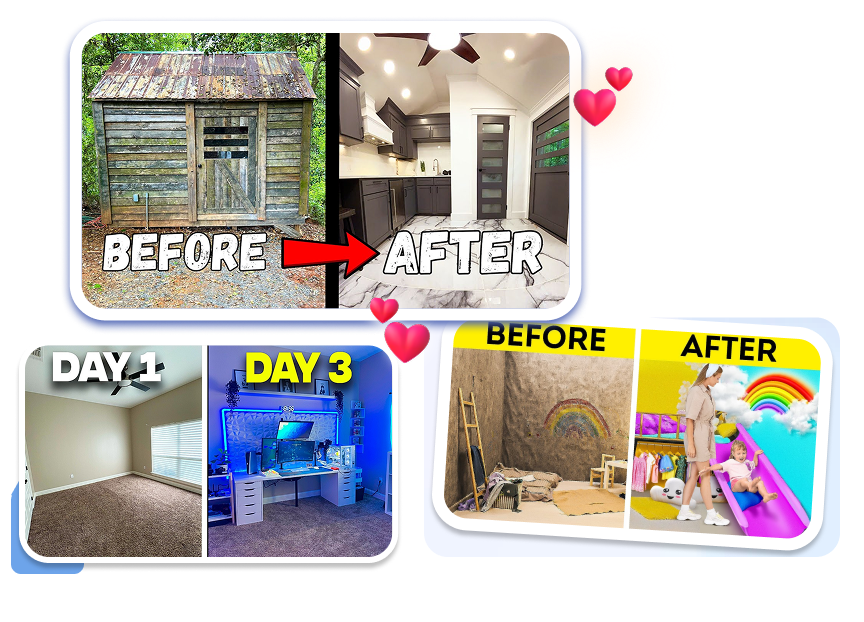


Before After Transformation Thumbnail
Shape a Time-Based Story
Add day counts or milestones to anchor the transformation timeline.
Pair progress scenes with concise text to keep outcomes legible.
Reserve space around the split so your hook stays readable.
YouTube Thumbnail Before After
Build a Recognizable Comparison Series
Reuse divider positions across episodes to build a recognizable series.
Swap project scenes while retaining the same comparison hierarchy.
Adjust visual direction until each result matches the footage.
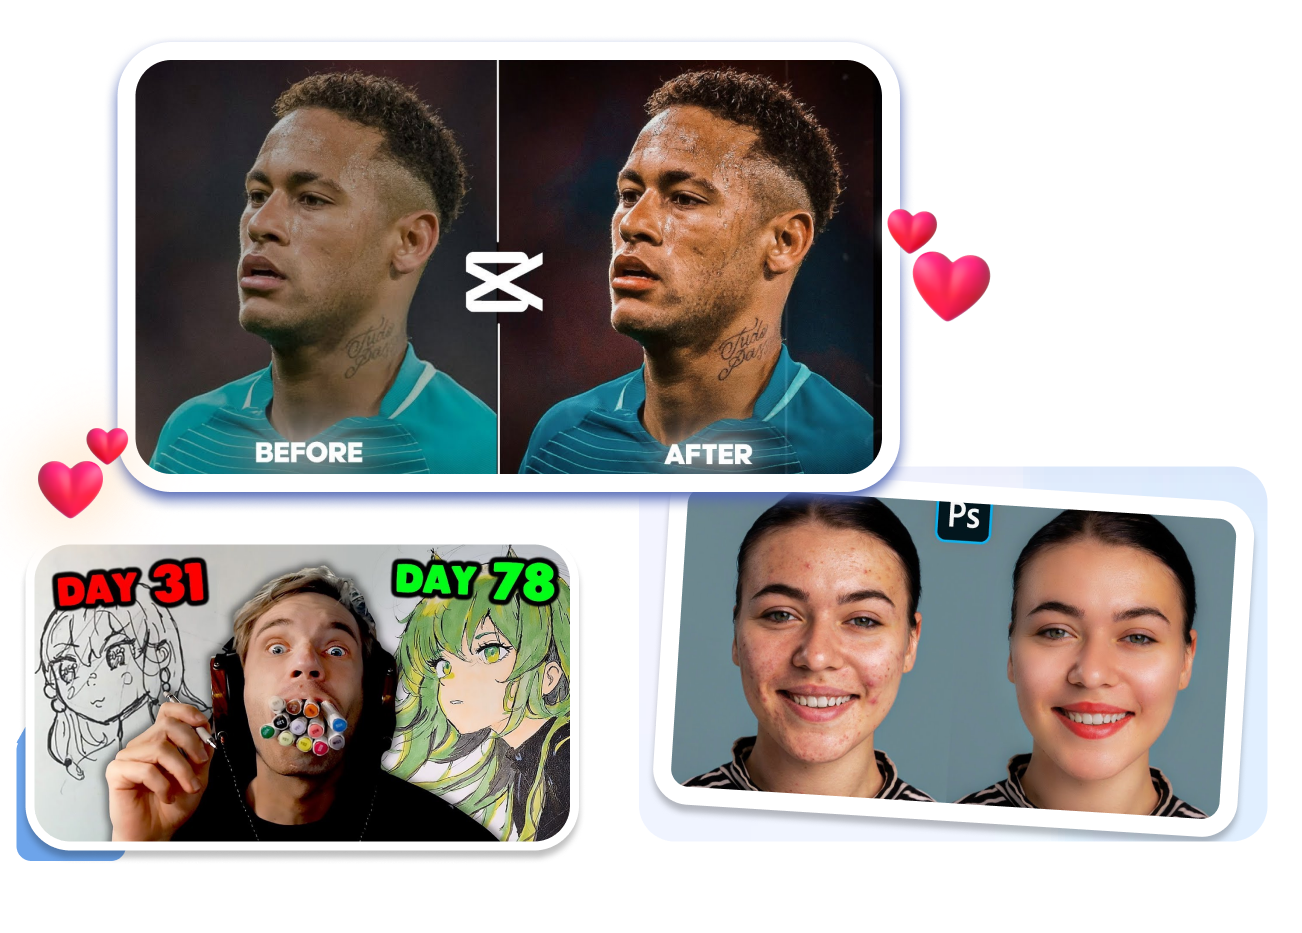
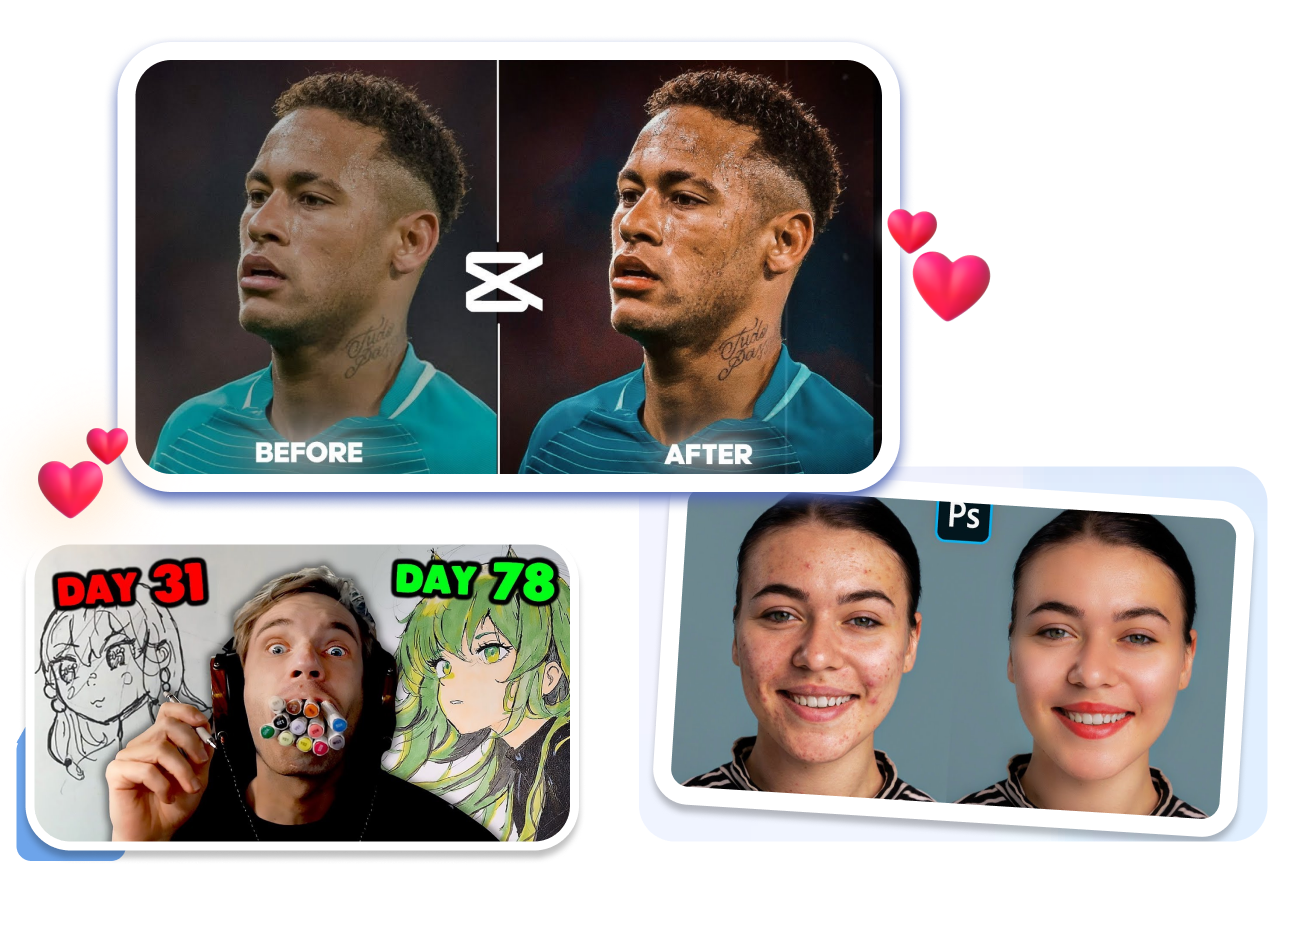
The Best Before and After Thumbnail Templates for Visible Progress

Home, Cleaning, and Restoration Creators
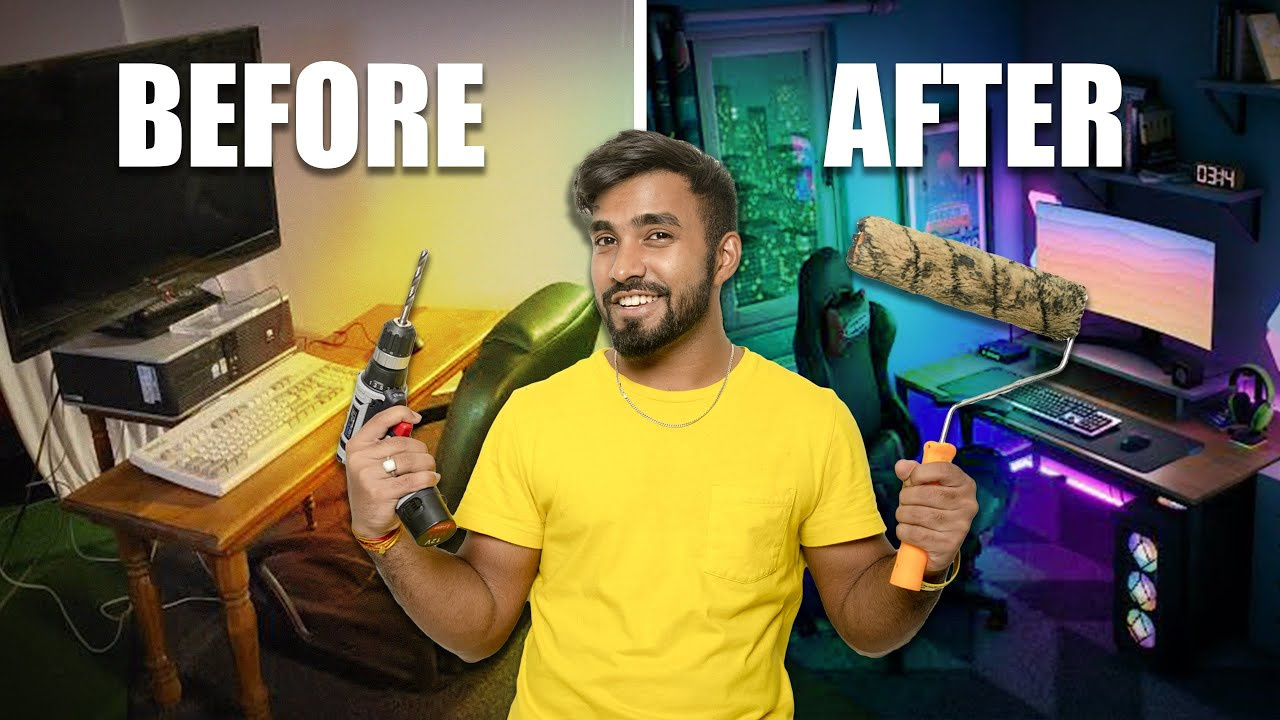
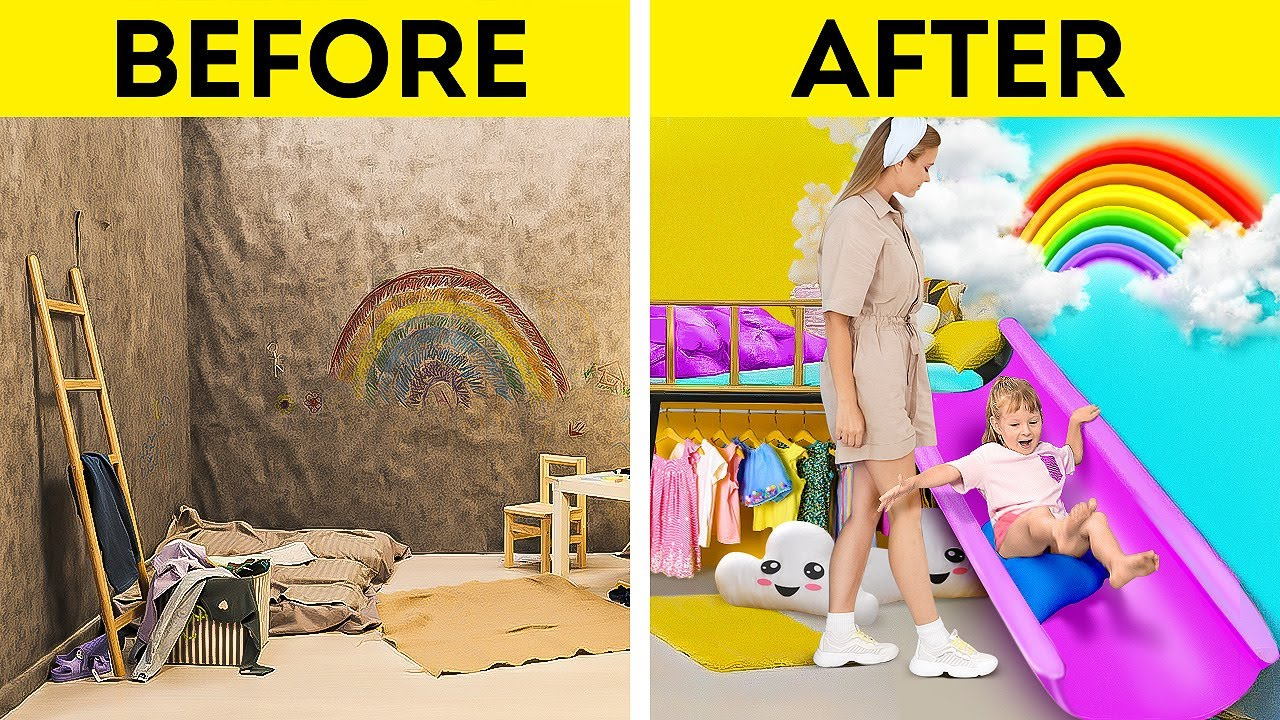
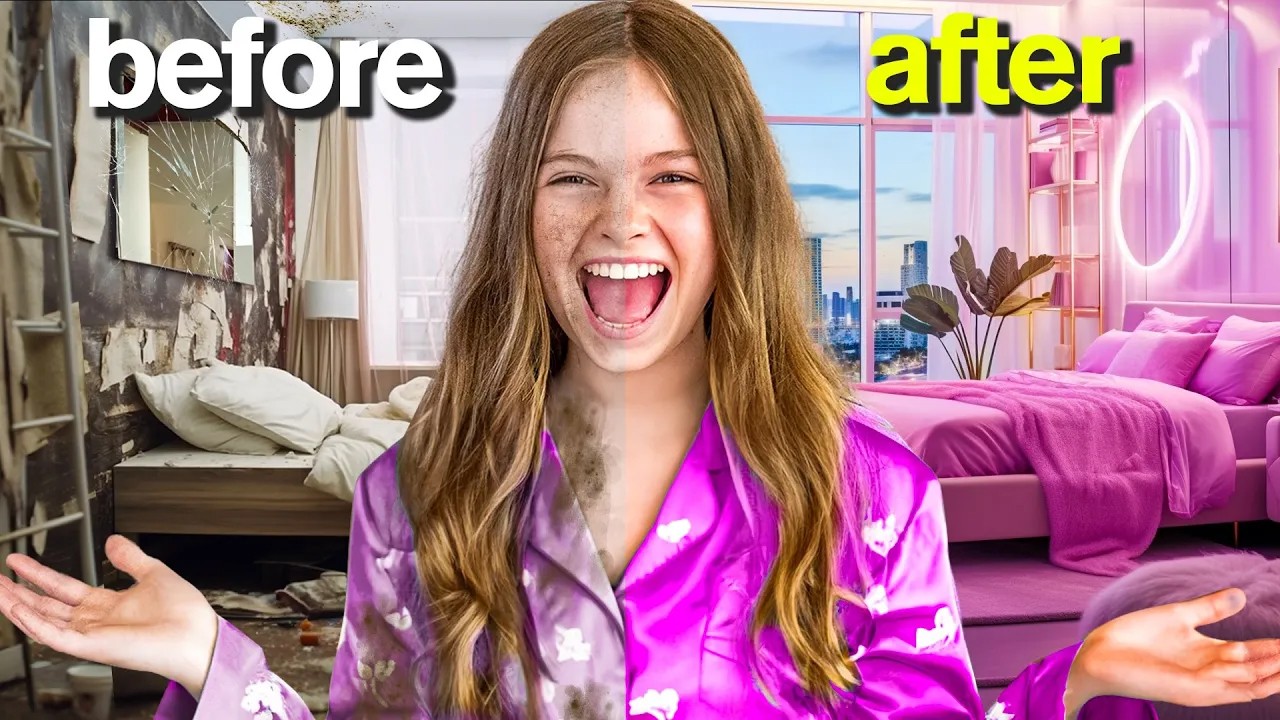
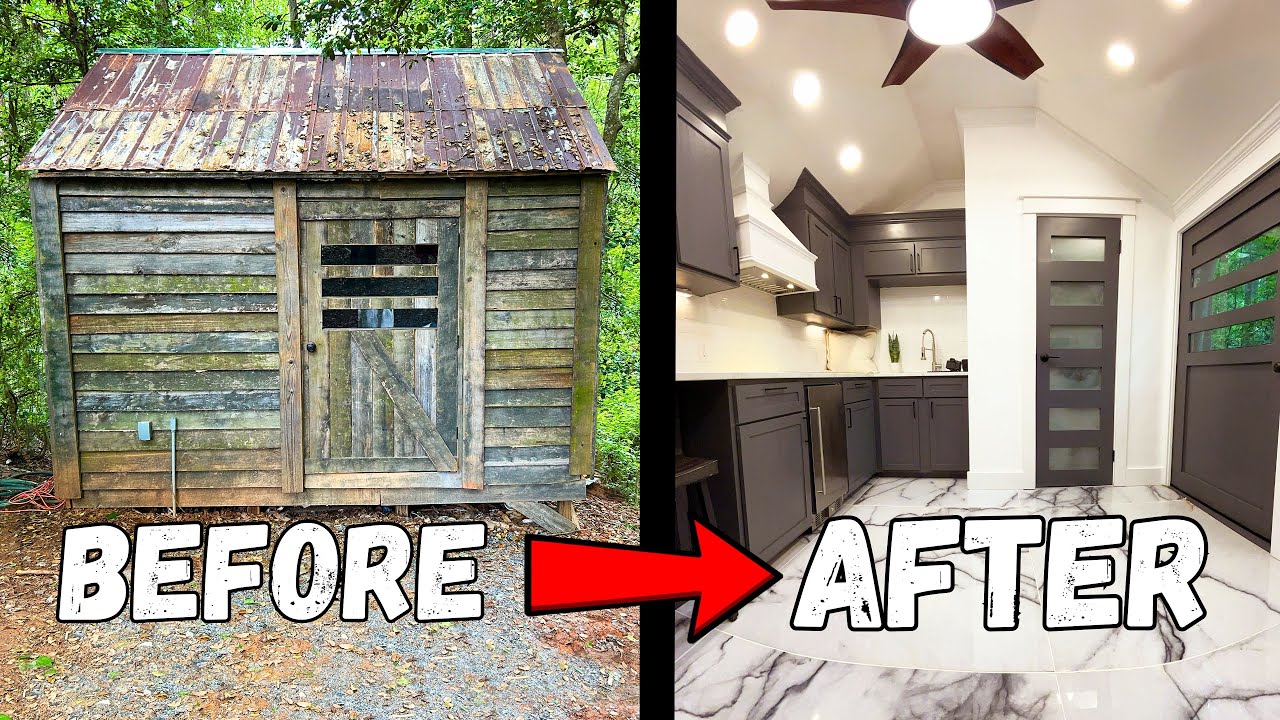
Room makeovers, deep cleans, furniture flips, and car restorations have a visible endpoint. Use one before-and-after frame to establish the starting condition and the completed result without crowding both sides with extra details.

Fitness, Beauty, and Routine Creators
For personal progress content, the comparison should stay truthful to the video. Center the documented change, keep both states comparable, and avoid adding visual details that create a misleading promise.

Designers, Artists, and Digital Creators
Website redesigns, photo edits, art progress, and workspace upgrades need the improvement to be obvious even on a small screen. Start with a split layout that treats both versions as parts of the same project.
FAQs
What is a before-and-after thumbnail?
What videos suit this format?
Do both images need the same angle?
Should I write before and after?
How much text should I add?
Can I make a room makeover thumbnail?
Make the Change Clear With a Before and After Thumbnail
Do not make viewers hunt for the result. Set the starting point against the finish, let the difference carry the story, and shape a Before and After Thumbnail around the proof your video actually shows.